Building a Natural Indigo Dye Studio at Home

Most people think you need a professional chemistry lab or a massive industrial vat to work with natural indigo, but that's a mistake. You don't need a degree in organic chemistry to cultivate a living, breathing indigo vat in a corner of your studio. This guide breaks down the actual requirements for setting up a home-based indigo dye studio, from the specific equipment you'll need to the biological mechanics of a reduction vat. We'll look at the costs, the setup, and how to manage the messy reality of working with botanical dyes without turning your kitchen into a biohazard zone.
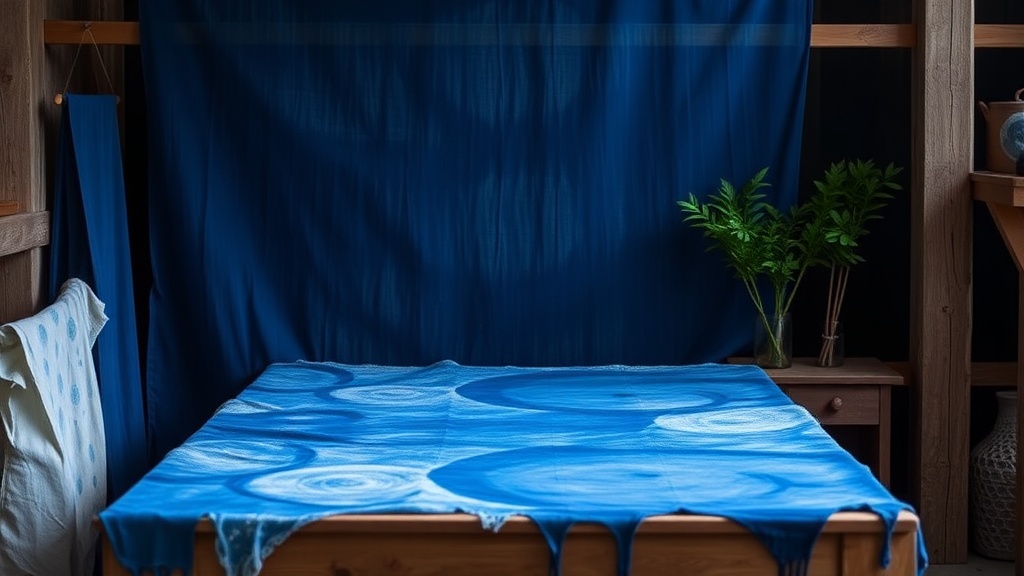
Indigo is a living process. Unlike synthetic dyes that you just mix with water, indigo requires a living vat where oxygen is actively removed through a reduction process. It’s a bit of a balancing act between pH levels, temperature, and the presence of a reducing agent. If you get the chemistry right, you get those deep, soulful blues that synthetic dyes can never quite replicate. If you get it wrong, you just have a bucket of smelly, useless sludge.
What Equipment Do I Need for an Indigo Dye Studio?
A functional home indigo studio requires a dedicated heat source, a high-quality pH meter, and a series of specialized vessels for fermentation and dyeing. You don't need much, but you do need the right things.
First, you need a vessel. I suggest a heavy-duty stainless steel pot or a high-density polyethylene (HDPE) bucket. Avoid aluminum—the indigo vat is alkaline and will react with it. You'll also want a way to monitor the temperature and the chemistry. A digital thermometer and a pH meter are non-negotiable if you want consistent results. You can't just "guess" the pH with a strip of paper and hope for the best.
Here is a basic checklist of the physical items you'll need to gather:
- The Vat: A 5-gallon bucket or a stainless steel pot.
- Heat Source: An electric hot plate or an induction burner (avoid open flames for safety).
- Measurement Tools: A digital pH meter and a thermometer.
- Stirring Tools: A long-handled wooden spoon or a stainless steel whisk.
- Protection: Nitrile gloves and an apron (indigo stains everything—seriously, don't wear your favorite white linen shirt).
- The Indigo: High-quality indigo powder from a reputable source like Indigofera tinctoria or Indigo pigment.
If you're starting out, don't overcomplicate the chemistry. You can use a "1-2-3" vat method (using henna, lime, and fructose) or a more traditional fructose-based reduction. It's a learning curve, but once you see that first flash of blue appear on the fabric, it's incredibly satisfying.
How Much Does a Home Indigo Setup Cost?
A basic home indigo setup typically costs between $150 and $300 depending on whether you already own certain kitchenware and the quality of the indigo powder you purchase.
The biggest variable is the indigo itself. Buying high-quality, pure indigo pigment is more expensive than buying synthetic dyes, but the color payoff is incomparable. You might spend $40 on a small bag of pigment, but that will last you through many many dye cycles. Here is a breakdown of where your money actually goes:
| Item | Estimated Cost (USD) | Purpose |
|---|---|---|
| Indigo Powder (100g) | $30 - $60 | The primary colorant |
| pH Meter/Thermometer | $30 - $50 | Ensuring chemical stability |
| Heat Source/Hot Plate | $40 - $80 | Maintaining vat temperature |
| Reducing Agents (Fructose/Lime) | $20 - $40 | Removing oxygen from the vat |
| Safety Gear & Vessels | $30 - $60 | Protection and containment |
One thing to keep in mind: the initial investment is higher than synthetic dyeing because you are essentially building a small biological reactor. However, the cost per garment is actually quite low once you have the core components. You aren't just buying a dye; you're building a system.
How Do I Maintain a Healthy Indigo Vat?
Maintaining a healthy vat involves monitoring the pH levels and ensuring the reduction agent is replenished regularly to keep oxygen out. A healthy vat should look like a deep, translucent green when it's ready for dipping.
The most common mistake beginners make is letting the vat become too acidic or too alkaline. If your vat turns a dull, brownish color, it's likely "exhausted." This usually happens because the oxygen has been reintroduced or the pH has drifted outside the ideal range (usually between 10 and 11.5 for a fructose vat).
To keep your vat alive, follow these steps:
- Check the color: A healthy vat has a "blue" surface film (the indigo flower) and a yellowish-green liquid underneath.
- Test the pH: Use your digital meter. If it's too low, add a small amount of calcium hydroxide (slaked lime).
- Add Reduction Agent: If the color is fading, add a bit more fructose or whatever reducing agent your specific recipe calls for.
- Minimize Air: When dipping your fabric, try not to stir the vat vigorously. You want to avoid introducing air bubbles into the liquid.
It's a bit of a ritual. You'll find yourself checking the vat every few days, almost like a pet. It's a living thing. If you treat it with respect—and don't let it sit in the sun too long—it can stay productive for months.
A common issue is the "smell." A healthy, fermenting vat has a distinct, earthy scent. If it starts smelling like rotten eggs, your pH might be too low or your reduction is going too far. Don't panic, but do check your chemistry immediately. This is why I suggest working in a room with good ventilation, even if you aren't working in a commercial-grade facility. Your lungs will thank you.
When you're ready to dye, remember that the color doesn't appear while the fabric is in the vat. The magic happens when you pull the fabric out and it hits the oxygen in the air. The fabric will look yellow-green when it comes out of the liquid—this is normal! As it oxidizes, it will transform into that iconic blue. If it stays green, you haven't dyed it long enough or your vat is too weak.
If you find yourself struggling with consistency, look into the scientific research regarding the oxidation of indigo. Understanding the molecular side of things—how the indigo molecule becomes insoluble when exposed to air—can actually help you troubleshoot your dips. It's not just magic; it's physics.
One final tip for the home studio: keep your workspace organized. Indigo is a messy, pigment-heavy medium. If you get it on your table, it stays there. Use silicone mats or even old newspaper to protect your surfaces. It's much easier to clean up a spill on a paper towel than it is to scrub blue pigment out of a wooden workbench.