Can You Make Drawing Ink from Plants Growing in Your Neighborhood?

You will learn how to transform common plants into vibrant drawing inks using basic kitchen equipment and a few straightforward techniques that have been used by artists for centuries — plus how to troubleshoot the common problems that send beginners back to store-bought supplies.
There's something almost magical about dipping a pen into ink you made yourself from plants you walked past yesterday. Unlike commercial inks that arrive in sealed bottles with ingredient lists you can't pronounce, homemade botanical ink connects your creative practice to the specific place where you live. The colors shift with the seasons. The chemistry changes based on your water source. And yes — sometimes the results surprise you in ways that manufactured products never could.
In Portland, where I work, the wet winters actually concentrate pigments in many plants. You'll find darker, more saturated colors in January blackberries than in June specimens. The Pacific Northwest's acidic soils also shift color outputs toward the blue-purple range compared to the same species grown in alkaline conditions. This isn't speculation — it's observable chemistry that you can test yourself by making identical batches from plants collected in different neighborhoods.
Can You Really Make Ink from Backyard Plants?
Absolutely. People have been making ink from plants since before recorded history. The earliest known inks came from carbon soot and plant gums, but vegetable and plant-based inks dominated European manuscript production throughout the Middle Ages. Today, artists are rediscovering these techniques not just for historical interest, but because plant inks offer working properties that synthetic formulations simply can't replicate.
The process is more straightforward than you might expect. You need plant material, water, heat, and a binding agent to help the ink stick to paper. Most kitchen setups can handle the basics. A stainless steel pot you don't use for food, some cheesecloth or fine mesh strainer, and clean glass jars for storage. That's really it. (Some artists invest in pH strips and preservatives, but you can start without them.)
What you're actually doing is creating a dye — extracting pigment compounds from plant cells using water as a solvent. Different plants contain different classes of pigments. Anthocyanins give reds, purples, and blues. Tannins produce browns and blacks. Flavonoids create yellows. The same blackberry bush might yield completely different colors depending on whether you harvest in June or October, because pigment concentration changes with ripeness and weather conditions.
Don't expect the colors to match what you see in the living plant. Red cabbage makes blue ink. Avocado pits make red-pink ink. Yellow onion skins create orange-brown ink. The chemistry of extraction reveals hidden colors that the plant's living structure masks or modifies.
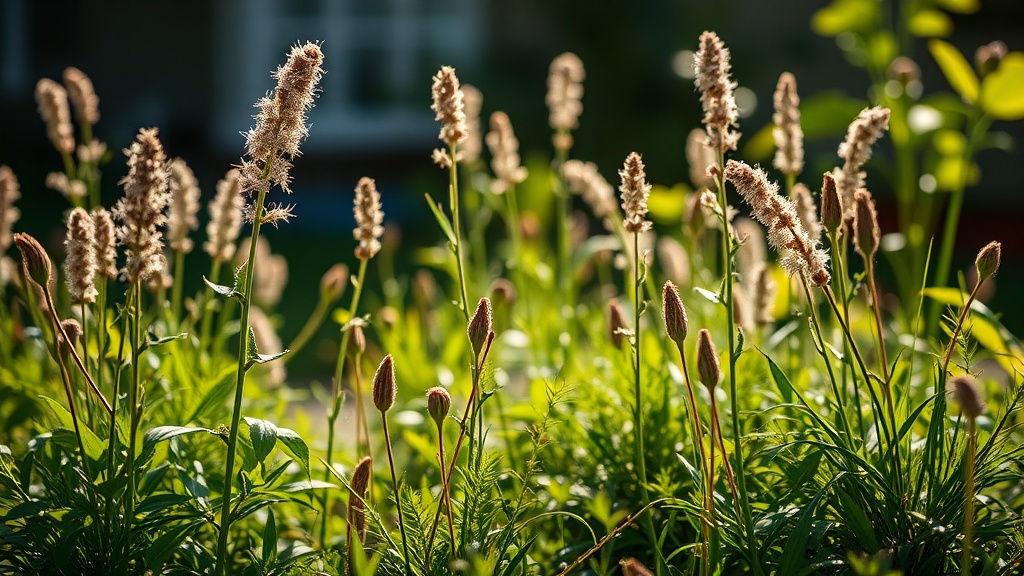
What Plants Work Best for Natural Ink?
Blackberries, walnuts, and avocados produce reliably strong colors for beginners. Blackberry stems and berries create deep purples that shift toward blue with added baking soda. Walnut hulls — the green fleshy part around the nut — make rich browns that have been prized by artists and woodworkers for generations. Avocado pits and skins yield surprisingly intense pinks and reds, not the green you might expect.
For yellow tones, try turmeric (though it fades quickly in sunlight), onion skins, or marigold flowers. Coffee and tea aren't technically plants you'd forage, but they count as botanical materials and produce consistent, permanent browns. Pokeweed berries create stunning magenta colors, but handle them carefully — they're toxic and best reserved for artists who won't have children or pets accessing their supplies.
Oak galls — those woody spheres you find on oak branches — deserve special mention. They're not actually plant material but wasp-induced growths that contain extremely high tannin levels. Combined with iron (from rusty nails or ferrous sulfate), oak gall ink produces the classic sepia-brown that dominated European writing for five hundred years. You can find detailed historical recipes at the Kremer Pigments website, which specializes in traditional art materials.
How Do You Turn Plant Material into Usable Ink?
Start small. Collect your plant material — roughly a cup of fresh material or half a cup of dried — and chop it finely to increase surface area. Cover with water in your designated pot and bring to a gentle simmer. Don't boil aggressively; you want to coax the pigments out, not cook them into something else.
Simmer for 30 to 60 minutes, watching as the water changes color. The liquid will reduce and concentrate. When the color looks strong — usually darker than you think you need — strain out the solids and return the liquid to the pot. Continue simmering until you've reduced it by about half.
Now you need a binder. Gum arabic is traditional — it's the sap from acacia trees and creates that characteristic ink sheen. You can purchase it online from suppliers like Dick Blick Art Materials. Start with a ratio of roughly one part gum arabic to four parts liquid, adjusting based on how thick you want your ink. Too much binder makes the ink sticky; too little and it sinks into the paper without holding color on the surface.
Add a preservative if you want your ink to last more than a few weeks. A few drops of clove oil, a splash of denatured alcohol, or a teaspoon of vinegar all work. Without preservation, your ink will mold — sometimes spectacularly — within days. Label your jars with the date and plant source. Store in the refrigerator if possible.
What If Your Ink Fades or Changes Color?
Lightfastness is the biggest challenge with plant-based inks. Many natural pigments break down when exposed to UV light — sometimes within weeks. If archival permanence matters for your work, test your inks by painting samples and leaving half covered while exposing half to direct sunlight for a month. Document the changes. Some artists embrace this impermanence as part of the medium's character; others restrict fugitive colors to sketchbook work.
Color shifting happens as pigments oxidize. Fresh blackberry ink often looks brown when wet, then dries violet, then continues shifting toward blue over several days. This isn't failure — it's the chemistry evolving. Work with it rather than against it. Create your pieces expecting these shifts, or let ink samples dry completely before committing them to finished work.
If your ink grows mold despite preservatives, strain it through coffee filters and add more clove oil or alcohol. If it becomes too thick, thin with distilled water. If it beads up on the paper, add a drop of dish soap to reduce surface tension. These adjustments become intuitive with practice.
Why Does Homemade Ink Behave Differently on Paper?
Commercial inks are engineered for consistency. Every bottle of a particular brand flows the same way, dries at the same rate, and produces identical colors. Botanical inks are the opposite — they're wild, temperamental, and completely unique to your specific batch.
You will notice immediate differences in how the ink sits on paper. Some plant inks soak in immediately, creating soft, diffused edges. Others sit on the surface, pooling and drying with hard lines. The pH of your ink affects its interaction with different papers. Acidic inks might deteriorate some papers over decades; alkaline inks might shift color as they age. The Library of Congress Preservation Directorate offers technical resources about ink chemistry and paper compatibility for artists concerned with archival stability.
Watercolor paper handles botanical ink beautifully — especially cold press, which gives the liquid something to grip. Smooth Bristol board can work, but the ink might bead up if your formulation is too acidic. Cheap sketchbook paper often turns into a blurry mess as the ink feathers along individual fibers.
Testing is non-negotiable. Always keep a sample card showing how your ink looks on different papers, both fresh and after drying. Colors often change dramatically as they oxidize. Fresh blackberry ink might look muddy brown when wet, then dry to a deep violet that shifts toward blue over several days. Document these changes so you know what to expect.
Working with plant inks requires a different mindset than opening a manufactured bottle. You're collaborating with natural chemistry — subject to variation, seasonality, and chance. Some batches will be disappointing. Others will produce colors so unexpected and beautiful that you couldn't have bought them if you tried. That's the trade-off. And for many artists, it's worth it.