Brewing Botanical Inks from Seasonal Foraged Berries

Imagine walking through a local park in late August and seeing a thick carpet of fallen elderberries or deep purple blackberries. Most people see waste or a snack, but for an artist, you're looking at a potential palette of pigments. This guide covers the technical process of extracting pigment from seasonal berries to create professional-grade botanical inks for sketching, calligraphy, and watercolor painting. Making your own ink isn't just a hobby; it's a way to connect your studio work directly to the seasonal changes of your specific environment.
Natural pigments behave differently than synthetic ones. While a bottle of Winsor & Newton ink offers consistency, a berry-based ink offers a living, breathing color that reacts to light and pH levels. You'll need to understand the chemistry of mordants—the substances that fix color to a surface—to ensure your work doesn't fade within a month.
What Supplies Do I Need to Make Botanical Ink?
You need a heat source, a fine-mesh strainer, a heavy-duty blender or mortar and pestle, and a high-quality mordant like alum or iron sulfate. If you're serious about the color stability of your pigments, don't skimp on the quality of your additives.
Here is a basic checklist of the hardware and organic materials required:
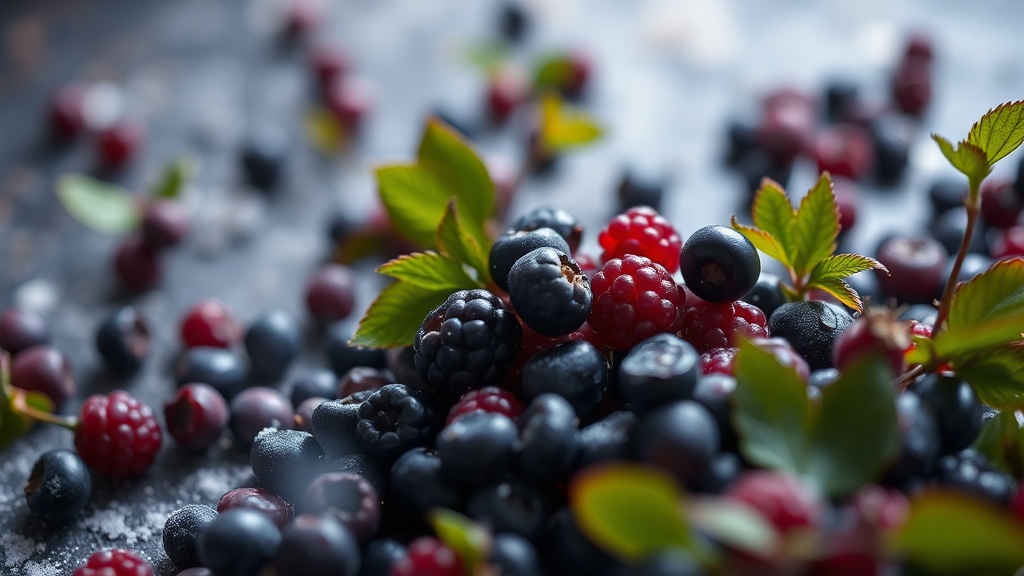
- The Berries: Elderberries, blackberries, or blueberries work best due to their high anthocyanin content.
- The Liquid Base: Distilled water is your best bet. Tap water contains minerals that can unintentionally shift your colors.
- The Binder: Gum Arabic (available from brands like Winsor & Newton) provides the viscosity needed for pens or brushes.
- The Mordants: Alum (for brightening) or Iron Sulfate (for darkening/saddening).
- Equipment: A stainless steel pot (avoid aluminum, as it reacts with the acid in berries) and a fine-mesh sieve.
One thing to remember—if you use an aluminum pot, the acidity of the berries will likely react with the metal and ruin the batch. Stick to stainless steel or glass.
How Do I Extract Pigment from Berries?
The most effective way to extract pigment is through a slow simmer of the fruit in distilled water followed by a fine straining process. You want to maximize the color density without boiling away all your liquid.
First, gather your berries. I prefer using elderberries because they produce a very deep, reliable pigment. Crush them thoroughly before they hit the pot. You can use a blender for a quick pulp, but a mortar and pestle gives you more control over the texture. Once crushed, place the fruit in your stainless steel pot and add just enough distilled water to cover them. You don't want a watery soup; you want a concentrated essence.
Simmer the mixture on low heat. Do not let it reach a rolling boil—high heat can actually break down the delicate organic pigments. Keep it at a gentle simmer for about 20 to 30 minutes. Once the liquid is dark and opaque, strain the mixture through a fine-mesh sieve or even a piece of cheesecloth. You want to remove every single bit of pulp and seed, or your ink will clog your nibs or brushes immediately.
If you've ever wondered if you can make drawing ink from plants in your neighborhood, berries are often the most successful "wild" ingredient because they are highly concentrated. They are much more predictable than leaves or bark.
How Do I Change the Color of My Ink?
You change the color of your ink by adding different metal salts, known as mordants, which alter the pH and the chemical structure of the pigments. This is where the real magic happens in the studio.
Most berry-based inks start as a bright, somewhat translucent color. By adding specific substances, you can "sadden" or "brighten" the hue. This is a technique used heavily in traditional textile dyeing and fine art ink making. The following table shows how common additives change the appearance of a standard berry pigment:
| Additive | Effect on Color | Technical Term |
|---|---|---|
| Alum (Potassium Aluminum Sulfate) | Brightens and clarifies the color | Brightening |
| Iron Sulfate (Ferrous Sulfate) | Darkens, turns purple to charcoal/black | Saddening |
| Baking Soda (Sodium Bicarbonate) | Shifts color toward blue/green (alkaline) | pH Shift |
| Lemon Juice or Vinegar | Shifts color toward red/pink (acidic) | pH Shift |
To experiment, take a small spoonful of your base berry liquid and place it in a white ceramic dish. Add a tiny pinch of your additive. Watch it change in real-time. If you add iron sulfate to a blackberry extract, you'll see it move from a vibrant purple to a moody, deep grey-black almost instantly. It's a bit of a thrill—provided you don't ruin a large batch by accident.
A word of caution: Always test your ink on a scrap piece of paper first. A color that looks stunning in a jar might look completely different once it dries on a textured watercolor paper. The absorption of the paper changes everything.
How Long Does Botanical Ink Last?
Botanical inks have a shorter shelf life than synthetic inks because they are organic matter and can eventually succumb to mold or oxidation. To extend the life of your ink, store it in a cool, dark place and consider adding a preservative.
If you aren't using the ink immediately, I recommend adding a few drops of clove oil or a professional-grade preservative. This helps prevent the organic material from decomposing. If you see any fuzzy growth or notice a change in smell, toss the batch. It's not worth the risk to your brushes or your paper. For those interested in the science of organic pigments, the Wikipedia entry on Anthocyanins provides a deep dive into why these specific molecules react to pH changes the way they do.
When you're working with these inks, keep your tools clean. If you're using a dip pen, make sure you wash the nib thoroughly after each session. Residual berry sugars or acids can eat away at metal nibs over time if left uncleaned. It's a small detail, but it'll save you a lot of frustration in the long run.
If you find yourself loving the depth of these natural pigments, you might enjoy exploring finding depth with indigo and natural blue pigments. The transition from berry-based inks to indigo-based pigments is a natural progression for any artist looking to master the art of natural color.
The beauty of this process is the variability. You'll never make the exact same shade of purple twice. One batch of blackberries might be more acidic than the last, or the soil conditions where they grew might have changed their pigment density. This isn't a flaw; it's a feature of working with the natural world. It forces you to be present in the studio and react to the materials in front of you.