Transforming Rust into Rich Earthy Pigments

This post covers the technical process of extracting iron oxide pigments from rusted metal surfaces to create professional-grade paints. You'll learn how to collect raw materials, refine them through grinding and sifting, and incorporate them into various artistic binders. Using rust for pigment isn't just a gimmick; it's a way to access unique, earthy ochre and sienna tones that are often expensive in pre-made tube paints.
How Do I Collect Raw Rust for Art?
The most effective way to collect raw rust is to source iron or steel objects that have undergone significant oxidation in a controlled, outdoor environment. Look for discarded iron nails, old garden tools, or scrap metal pieces that show heavy flaking. It's best to avoid galvanized steel, as the zinc coating prevents the uniform oxidation needed for consistent pigment. If you find a piece of weathered iron, you're halfway there.
I usually look for "scale"—those crunchy, brittle flakes that peel off the surface of old metal. This scale is much easier to process than trying to grind down a solid piece of metal. You can also use a wire brush or a hammer to knock loose these particles. Just make sure you aren't working with anything treated with toxic industrial coatings or lead-based paints. Safety first—always wear a dust mask when handling dry oxidation.
If you want to accelerate the process, you can actually induce rust on clean steel using a simple saltwater soak. This is a reliable way to ensure you have enough material for a large batch of paint. A little bit of way too much salt and a bit of vinegar can do the trick.
What Tools Do I Need to Make Rust Pigment?
You need a combination of a heavy-duty mortar and pestle, fine-mesh sieves, and a high-quality binder to turn your raw oxide into usable paint. The process requires tools that can handle both the physical grinding and the fine sifting necessary for a smooth texture.
Here is a breakdown of the essential equipment for your studio setup:
| Tool Type | Recommended Item | Purpose |
|---|---|---|
| Grinding | Granite Mortar & Pestle | Breaking down the oxide flakes into a fine powder. |
| Sifting | #200 Mesh Silk Screen | Ensuring the pigment is fine enough for professional work. |
| Binding | Linseed Oil or Gum Arabic | Turning the powder into a liquid medium. |
| Safety | N95 Respirator | Protecting your lungs from fine iron oxide dust. |
Don't try to skip the sifting step. If your pigment is too gritty, it'll ruin your brush and leave your painting looking like sandpaper. A fine mesh sieve is your best friend here. I've found that using a fine iron oxide powder is much more forgiving when working with a brush.
It's worth noting that the quality of your binder determines the final look of your art. For oil-based work, a high-grade linseed oil is the standard. If you're doing watercolor-style work, you'll want to look into the methods used for making vivid pigments from crushed charcoal and egg yolks to see how binders interact with different powders.
How Do I Refine the Rust into Fine Powder?
Refining the rust involves a three-step process of crushing, sifting, and secondary grinding. You want to reach a consistency where the powder feels like silk between your fingers, not like grit.
First, take your collected rust flakes and place them in a heavy-duty bag or a mortar. Give them a vigorous crush to break the large flakes into smaller pieces. This makes the subsequent grinding much more efficient. If you try to grind large flakes immediately, you'll likely break your tools or your hands.
Once the flakes are small, move to the sifting stage. Use your fine mesh sieve to separate the "good" dust from the larger chunks. Anything that doesn't pass through the sieve needs to go back into the mortar for more grinding. This can be a tedious process—sometimes it takes several passes—but the texture is everything.
The goal is a particle size so small that it can be suspended in a liquid without settling immediately. If your powder is still heavy or clumpy, it's not ready. You'll know it's ready when the powder flows freely through the sieve like a liquid.
- Crush: Break the large-scale rust into small bits using a hammer or heavy pestle.
- Sift: Pass the bits through a fine mesh to remove the largest particles.
- Grind: Use a mortar and pestle to turn the remaining bits into a fine dust.
- Re-sift: Repeat the sifting process until the texture is consistent.
How Do I Mix the Pigment with a Binder?
To create the actual paint, you must incorporate your refined iron oxide powder into a liquid medium such as oil, egg yolk, or acrylic polymer. The ratio of pigment to binder is the most important variable in this stage of the process.
If you are making an oil-based paint, start with a small amount of pigment in a glass dish. Add your linseed oil drop by drop. You'll want to stir constantly to avoid lumps. It's a bit like making a very thick paste. If you add too much oil too fast, the paint will be too runny and won't hold its shape on the canvas.
For a water-based approach, you might use a gum arabic solution. This is a much faster process, but the paint will be more translucent. The beauty of rust-based pigments is their natural translucency—they have a depth that opaque synthetic pigments often lack. This is similar to the techniques used in wet-on-wet watercolor techniques, where layering and transparency create depth.
One thing to watch for is the "drying time." Iron oxide is a heavy pigment. It can be quite "thirsty," meaning it absorbs more binder than lighter pigments like carbon black. If your paint feels too stiff, add a tiny bit more medium. If it's too thin, add more pigment. It's a balancing act.
Test a small batch on a scrap piece of paper or canvas before committing to a full project. You'll see how the color shifts as it dries. Rust pigments often look darker when wet and lighten significantly as the binder cures. This can be a bit surprising if you aren't expecting it.
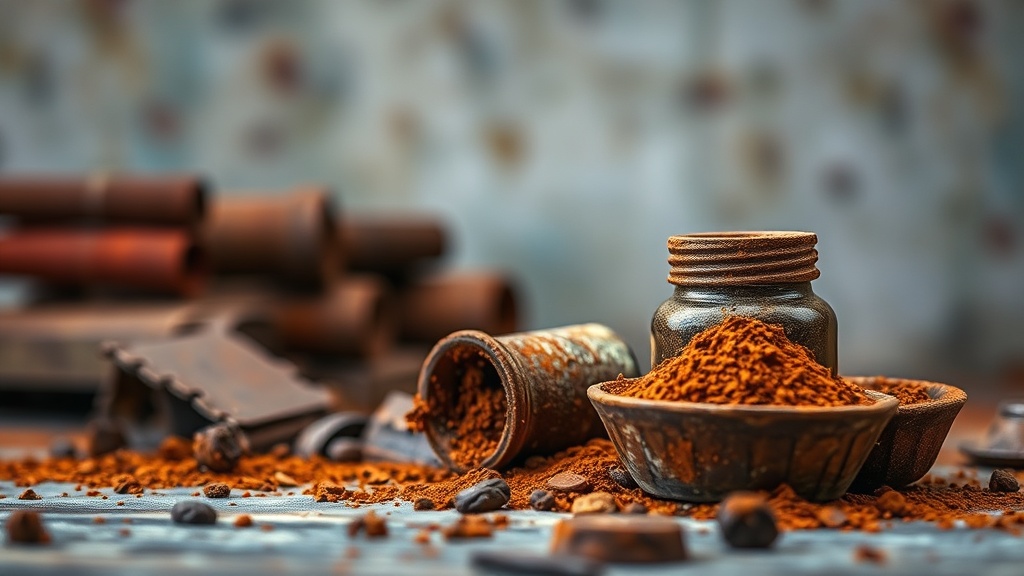
Once you've found the right consistency, store your paint in small, airtight glass jars. This prevents the oil from going rancid or the pigment from absorbing moisture from the air. A little bit of beeswax can also be added to the mixture if you want to create a more durable, sculptural paste.
The texture you've created is a direct result of your patience. If you rush the grinding, you'll end up with a grainy mess. If you take the time to refine the oxide, you'll have a rich, professional-grade material that's truly your own.